Key takeaways
- Your first SEKTION cabinet takes 30–45 minutes; once you find a rhythm expect 15–25 minutes per base cabinet and 10–15 per wall cabinet.
- A full 12–20 cabinet kitchen is 8–16 hours of assembly before anything touches the wall, and MAXIMERA drawers are where the time goes.
- Check every box for square before tightening the cam locks; a racked box produces doors that never align.
- Professional assembly alone runs roughly $50–$100 per cabinet, and assembly plus installation roughly $150–$300 per cabinet.
Cost
$0 DIY; $50–$100 per cabinet if hired
Time
30–60 minutes per cabinet
Difficulty
Easy
Tools
Drill, Phillips bit, rubber mallet, clamps
On this page
- How Long Does Assembly Actually Take?
- Tools You Need
- Step 1: Organize and Stage Your Boxes
- Step 2: Understand IKEA's Fastening System
- Step 3: Assemble the Base Cabinet Box
- Step 4: Install Hinges and Doors
- Step 5: Build the Drawers
- Step 6: Assemble Wall Cabinets
- Common Assembly Mistakes to Avoid
- When Assembly Is Done
- Prefer to Skip the Flat-Pack Marathon?
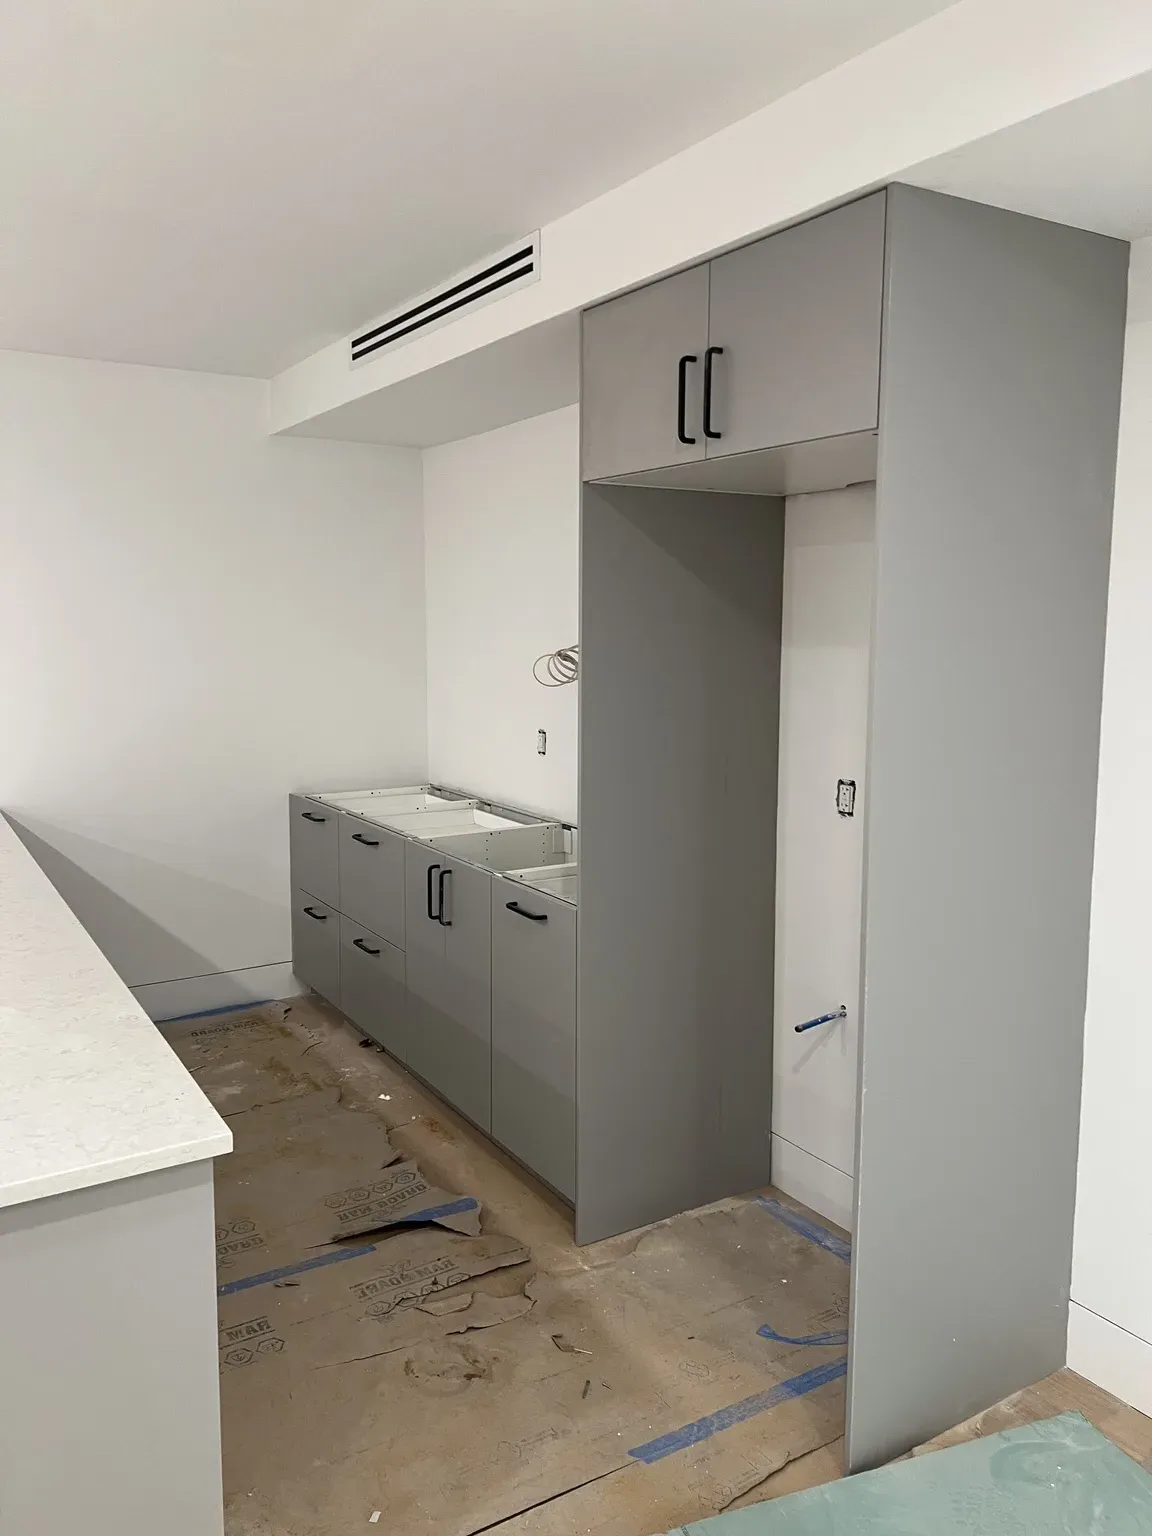
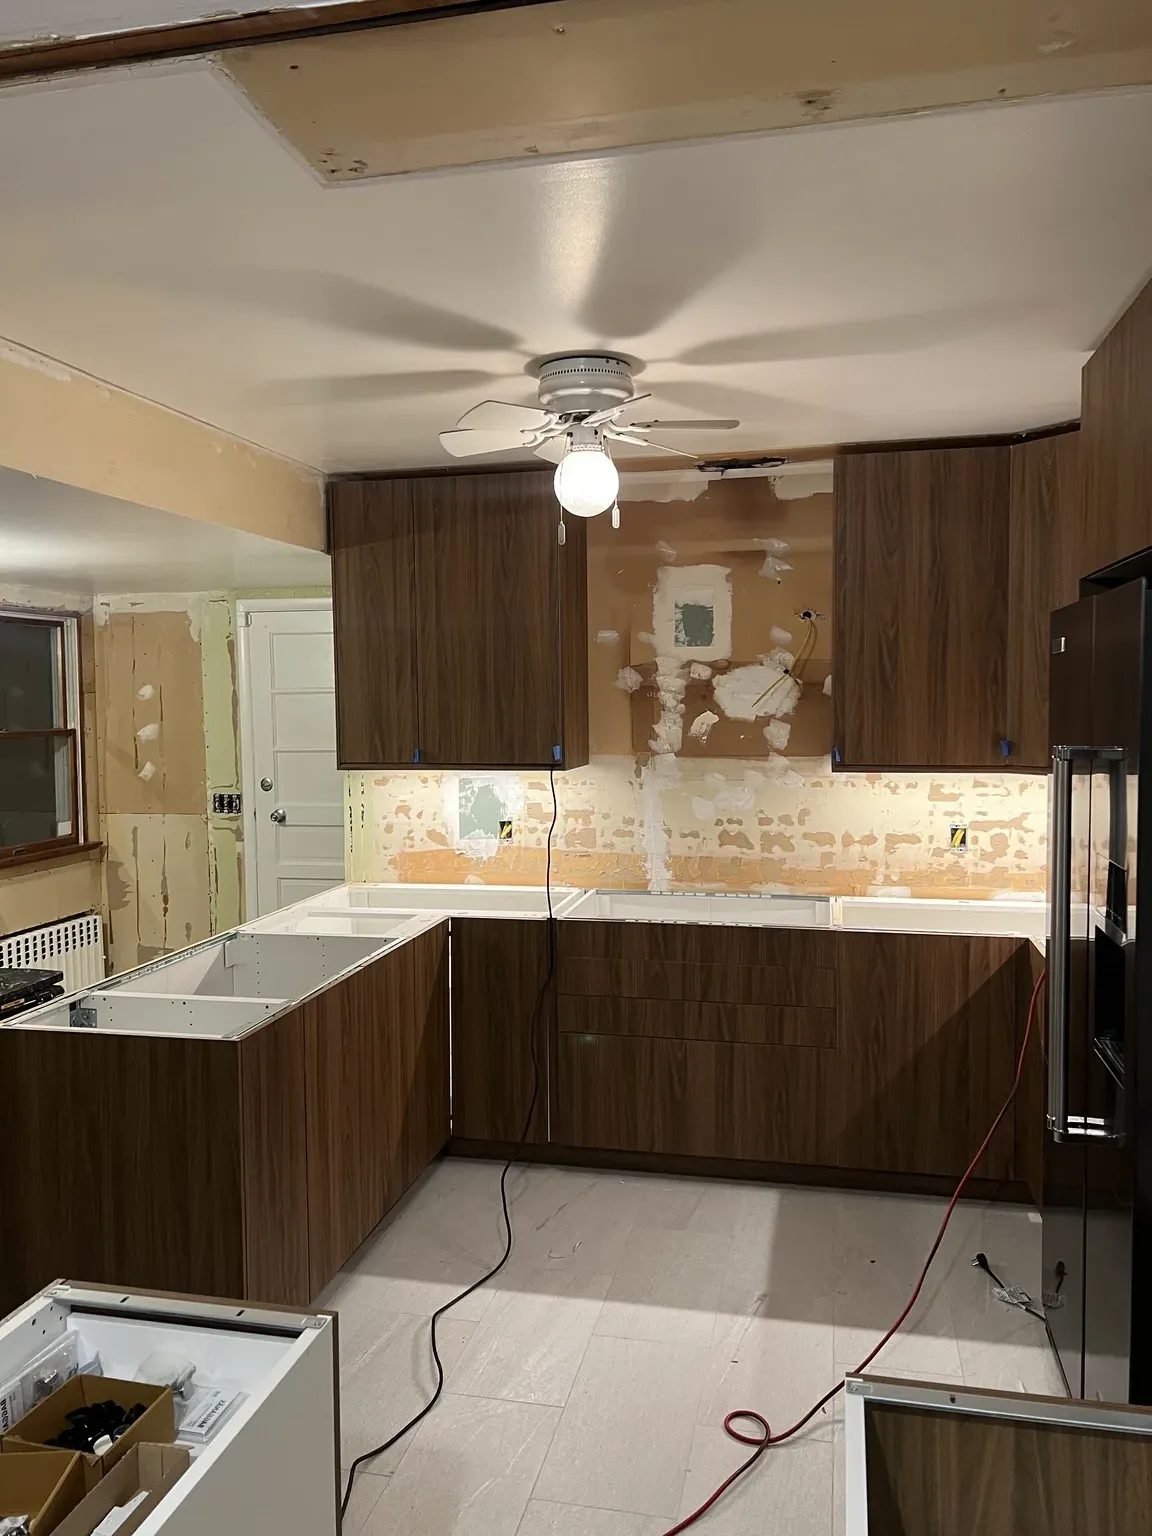
The biggest surprise for first-time IKEA kitchen buyers is the sheer volume of flat-pack assembly involved. Every single cabinet box arrives disassembled, and a typical kitchen has 12 to 25 of them. Assembly is genuinely the most time-consuming part of an IKEA kitchen — far more than hanging the cabinets. This walkthrough shows you how to do it correctly and efficiently.
How Long Does Assembly Actually Take?
Honest expectations matter here:
| Stage | Time to expect |
|---|---|
| Your first cabinet | 30–45 minutes (you are learning the fasteners) |
| Each base cabinet once you find a rhythm | 15–25 minutes |
| Each wall cabinet | 10–15 minutes |
| Each MAXIMERA drawer, including runners | 10–15 minutes on top of the cabinet |
| A full 12–20 cabinet kitchen | 8–16 hours of assembly before any installation |
This is why many homeowners who are comfortable with the rest of the project still hire out the assembly. If you want the full picture of DIY versus hiring, read can you install an IKEA kitchen yourself?
Tools You Need
SEKTION assembly requires surprisingly few tools, but the right ones make a huge difference:
- A power drill/driver with a Phillips bit — the single biggest time-saver
- A rubber mallet for tapping cam-lock dowels and panels together
- A square to confirm the box is not racked (out of square)
- A tape measure
- A clean, open floor space and the cardboard packaging as a work surface
Our IKEA kitchen assembly tools guide goes deeper on exactly what to buy. A clutch-equipped drill is worth it — overtightening cam locks is the most common way to strip them.
Step 1: Organize and Stage Your Boxes
Before assembling anything, organize. IKEA cabinets ship as multiple flat boxes, and a single cabinet may span two or three packages. Lay out your parts list and:
- Group packages by cabinet
- Confirm every package arrived (cross-check article numbers against your receipt)
- Open one cabinet's packages at a time so hardware does not get mixed up
- Keep the instruction sheet and the small hardware bags together
Working through your kitchen one cabinet at a time prevents the most maddening problem: a pile of mixed-up cam locks and dowels. If a box is missing or a panel arrives damaged, our guide to missing and damaged IKEA kitchen parts covers how to get replacements without holding up the whole job.
Step 2: Understand IKEA's Fastening System
SEKTION cabinets use a few repeating fastener types. Learn them once and every cabinet becomes easy:
- Cam locks (the round metal discs) — a screw-in dowel slots into the cam, and a quarter-turn locks it. Do not overtighten.
- Wooden dowels — push-fit alignment pins; tap gently with the mallet
- Screws — for the suspension rail brackets and hinge plates
- The white plastic feet/legs — clip onto the base cabinet bottom
Once you recognize these, the pictogram instructions make sense quickly.
Step 3: Assemble the Base Cabinet Box
For a typical base cabinet:
- Insert the wooden dowels and the screw-in cam dowels into the side panels
- Attach the bottom panel to one side, then the other, seating the cam locks
- Add the back rail (top) and the suspension rail bracket
- Check for square with your square tool before fully tightening — a racked box leads to doors that will never align
- Slide in the back panel into its groove
- Attach the cabinet legs, then clip on the toe-kick later during installation
Step 4: Install Hinges and Doors
SEKTION hinges clip onto a mounting plate inside the cabinet:
- Screw the mounting plates into the pre-drilled holes on the cabinet side
- Clip the door hinges onto the plates
- Leave final adjustment for after the cabinet is hung — you adjust the door for even gaps once it is on the wall. See soft-close adjustment.
Step 5: Build the Drawers
IKEA's MAXIMERA drawers are excellent but have the most parts. Each drawer:
- Connect the four drawer sides with the corner brackets
- Slide in the bottom panel
- Attach the drawer front bracket
- Mount the runners inside the cabinet, then click the drawer onto the runners
- Use the adjustment cams to align the drawer front later
Drawers are where assembly time adds up, so budget accordingly if your design is drawer-heavy.
Step 6: Assemble Wall Cabinets
Wall cabinets follow the same logic but are lighter and faster. The key part is the suspension rail bracket inside the back top corners — this hardware is what hooks the cabinet onto the metal rail you will mount to the wall. Do not skip or misalign it; it carries the entire weight of the cabinet. For mounting them, see our dedicated suspension rail installation guide.
Common Assembly Mistakes to Avoid
- Overtightening cam locks — strips them and can crack the particleboard
- Building a racked box — always check square before final tightening
- Mixing up left/right side panels — the pre-drilled holes are not symmetrical
- Losing track of which package belongs to which cabinet — stay organized
- Assembling all cabinets before checking the room — assemble enough to start hanging, then continue, so you catch any layout problems early
For a broader list, see IKEA kitchen mistakes to avoid.
When Assembly Is Done
Once boxes are assembled, you move on to mounting the suspension rail, hanging wall cabinets, and setting and leveling base cabinets. That sequence is covered in our installation day guide. In the triple-deckers and Capes we work in across Rhode Island and the rest of New England, the leveling step usually takes longer than the hanging, so keep the legs accessible and do not clip on the toe-kick until the countertop is on.
Prefer to Skip the Flat-Pack Marathon?
Assembly is doable, but it is genuinely the most tedious part of an IKEA kitchen — and a single racked box can throw off an entire run of cabinets. Professional assembly alone runs roughly $50–$100 per cabinet; assembly plus installation runs roughly $150–$300 per cabinet, or $2,500–$4,500 for a typical 10x10 kitchen. Our guide to IKEA cabinet assembly cost breaks that down. If you would rather not spend a weekend (or three) on the floor with a drill, our cabinet assembly and installation service handles the whole thing across Massachusetts, Connecticut, and Rhode Island.
Request a free estimate — we will assemble, install, level, and adjust your entire IKEA kitchen so every door and drawer lines up.
Frequently asked questions
About the authors
This guide was written and reviewed by the Hearthstone Kitchens installation team, who have installed 600+ IKEA kitchens in Massachusetts, Connecticut and Rhode Island over 7+ years. Prices reflect what we see on real quotes in 2026 and are updated when the market moves. We are an independent installer and are not affiliated with IKEA.
Ready to talk about ikea cabinet assembly?
Upload your IKEA plan or a few photos. We will check it for missing pieces and send an itemized estimate within 3 hours, free and with no obligation.