Key takeaways
- The SEKTION suspension rail is a steel rail that carries every wall cabinet; if the rail is level and anchored, the cabinets are level and safe.
- Mark a level line from your highest floor point or down from the ceiling, never equal distances up from a sloping floor.
- Screw into every stud the rail crosses; between studs and in plaster or masonry, use anchors rated for the loaded weight of the cabinets.
- In pre-1950 New England homes expect plaster and lath or plaster over brick, and plan the anchoring before installation day.
Cost
Included in installation
Time
2–4 hours per room
Difficulty
Moderate
Tools
Laser or 4-ft level, drill, stud finder, structural screws
On this page
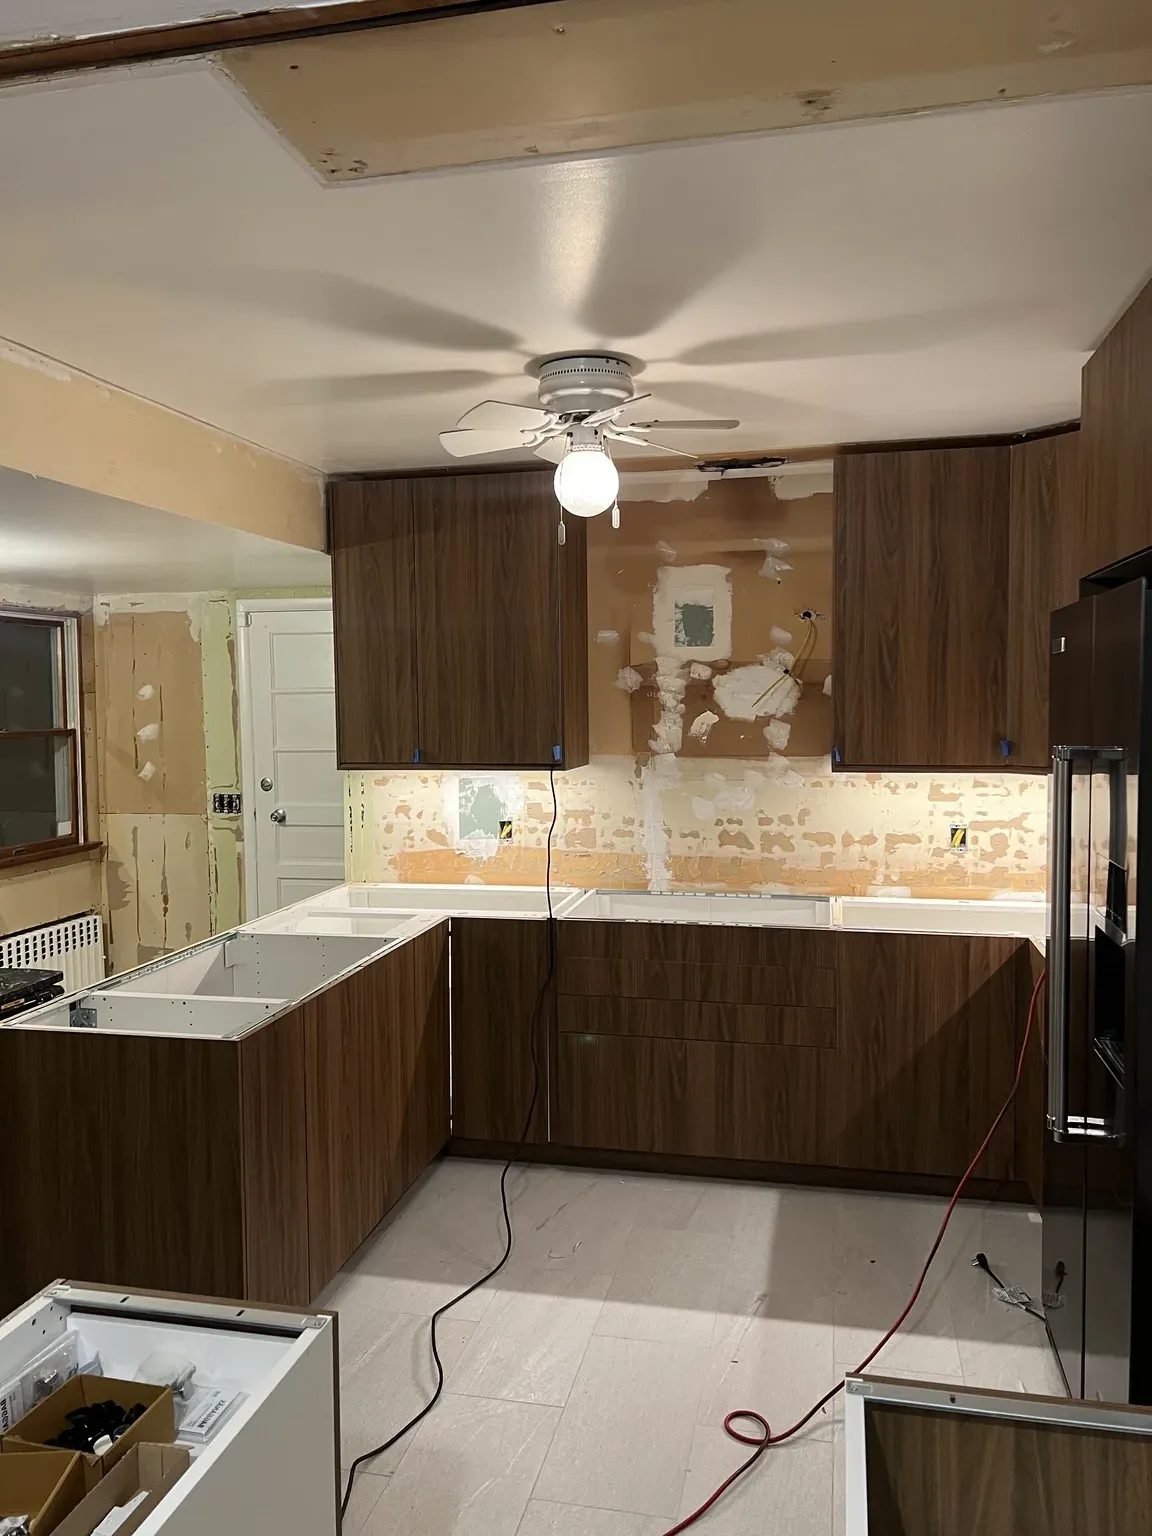
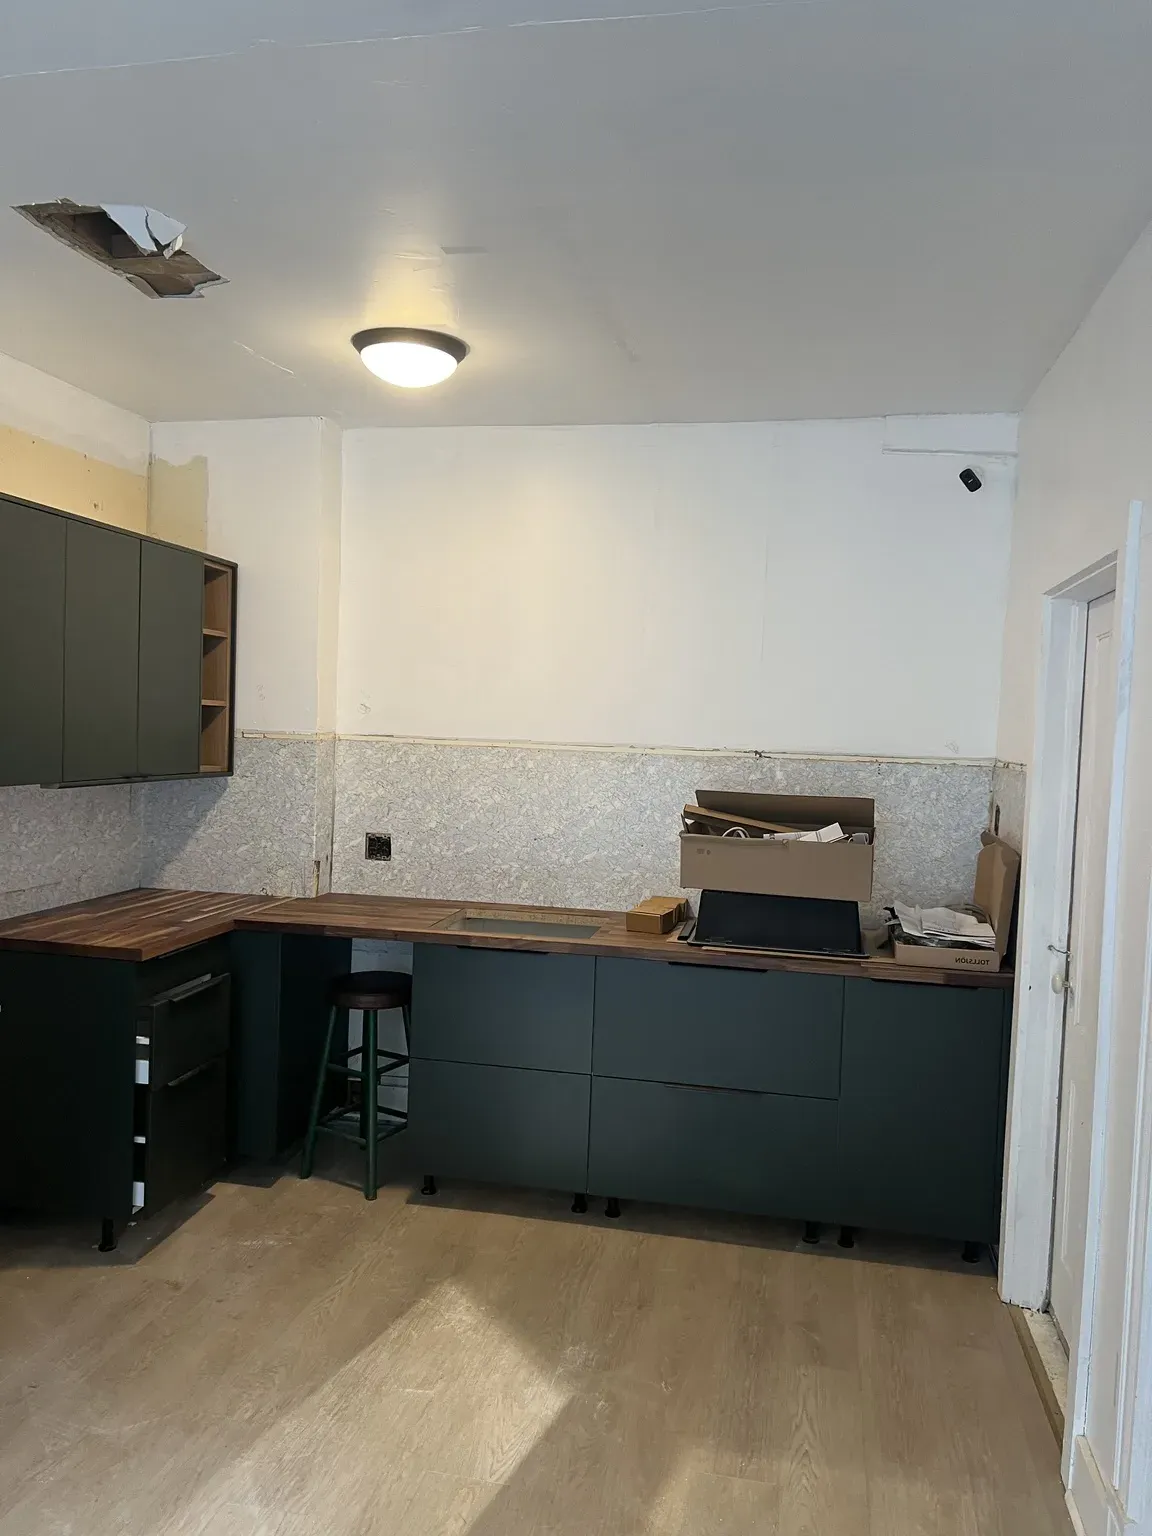
The IKEA SEKTION system is built around a clever idea: instead of screwing each wall cabinet directly into the wall, you mount a single horizontal steel rail, and every cabinet hooks onto it. This makes leveling and aligning your upper cabinets far easier — but only if the rail itself is installed perfectly. Get the rail wrong and the entire row of cabinets is wrong. This guide shows you how to do it right.
What the Suspension Rail Does
The suspension rail is a steel bracket that runs horizontally across your wall. Each wall cabinet has internal brackets that hook over this rail, then two adjustment screws inside the cabinet let you fine-tune how the cabinet sits and tighten it against the wall. The rail carries the load and sets the level; the cabinets simply hang from it.
Because all cabinets reference the same rail, a level rail means a level run of cabinets. This is one of the smartest parts of the SEKTION design — and why rail installation deserves real care. The cabinets themselves need to be built square before they go up, which is covered in our SEKTION assembly walkthrough.
Step 1: Determine Your Cabinet Height
First decide how high your wall cabinets will sit. Standard practice is to leave 18 inches of backsplash space between the countertop and the bottom of the wall cabinets, which usually places the bottom of the uppers about 54 inches from the floor.
But in older New England homes, "from the floor" is unreliable because floors slope. Instead, measure up from your highest floor point, or better, measure down from the ceiling if you plan to take cabinets to the ceiling. Mark a level horizontal line around the room at the top edge of where the rail will sit. Our guide on leveling IKEA cabinets on an uneven floor explains how the base cabinets and the rail height relate.
Step 2: Find and Mark the Studs
The rail must be anchored into something solid. Use a stud finder to locate every stud along your line and mark them. In New England you will encounter several wall types:
- Modern drywall over wood studs — straightforward; screw into each stud
- Plaster and lath (common in pre-1950 homes) — the stud finder can be unreliable through thick plaster; confirm with a small test screw or by measuring 16 inches on center
- Plaster over masonry/brick — common in triple-deckers and brownstones; you will need masonry anchors
For older walls, our IKEA kitchen in an old house guide covers the specific challenges in depth.
Step 3: Establish a Perfectly Level Line
This is the most important step. Use a long spirit level or, ideally, a laser level to mark a dead-level line for the top of the rail. Do not measure equal distances up from the floor — if the floor slopes, your rail will slope too, and your countertop (which sits on leveled base cabinets) will not align with the uppers.
Snap or pencil a continuous level line across the entire wall run. The rail's top edge will sit on this line.
Step 4: Mount the Rail
With your level line marked and studs located:
- Hold the rail with its top edge on your level line
- Drive screws through the rail into each stud — never rely on drywall alone
- For sections that fall between studs, use appropriate heavy-duty wall anchors rated for the load
- For plaster-over-masonry, drill and use masonry anchors
- Re-check level across the full length after the first few screws
If your rail spans a corner, the rails on each wall must meet at exactly the same height. Check the corner carefully with your level.
Step 5: Anchoring in Tricky Old Walls
New England's housing stock means you will rarely have a clean stud wall. Here is how the approach changes by wall type:
| Wall type | Where you find it | How to anchor the rail |
|---|---|---|
| Drywall over wood studs | Post-1960 homes, renovated kitchens | Screws into every stud the rail crosses; rated anchors between studs |
| Plaster and lath over wood studs | Pre-1950 Capes, colonials, triple-deckers | Find studs with a test screw; long screws through plaster and lath into the stud; toggle bolts rated for heavy loads between studs |
| Plaster over brick or block | Brownstones, mill conversions, some triple-decker party walls | Sleeve or wedge anchors into the brick, not the mortar joints; skip the plaster for load |
| Crumbling or hollow plaster | Water-damaged or previously patched areas | Cut back and add solid blocking or a plywood backer, then screw into that |
| Wavy or out-of-plumb wall | Almost any old house | Shim behind the rail so it stays straight; the cabinets' adjustment screws absorb minor variation |
Loaded wall cabinets full of dishes are heavy — do not under-spec anchors. When in doubt, over-anchor. A failed rail can bring down an entire row of loaded cabinets, which is a serious safety issue. Plaster is common enough here that we wrote a separate guide to hanging IKEA cabinets on plaster and lath walls.
Step 6: Hang the Cabinets
With a level, well-anchored rail in place:
- Lift each assembled wall cabinet and hook its internal brackets over the rail
- Slide cabinets together and connect adjacent cabinets to each other with the provided connector screws (clamp the face frames flush first)
- Use the two adjustment screws inside each cabinet to set depth and level
- Confirm the whole run is level and the faces are flush before final tightening
Because every cabinet hangs from the same level rail, this step goes quickly when the rail is right — and becomes a nightmare when it is not.
Step 7: Final Checks
Before calling it done:
- Confirm the entire run is level with your spirit level
- Tug-test each cabinet to verify it is solidly anchored
- Check that doors hang evenly (final door adjustment comes next)
- Verify connectors between cabinets are snug so the faces are flush
Safety Note
Wall cabinets loaded with dishes and glassware can weigh well over 100 pounds per cabinet. Improper anchoring is one of the most dangerous mistakes in a DIY kitchen. If you are unsure about your wall type or anchoring — especially in older plaster or masonry homes — this is the step to bring in a professional. It is the core of our cabinet assembly and installation service, and it is covered by our 5-year workmanship warranty.
We install suspension rails and hang cabinets in homes of every era across Massachusetts, Connecticut, and Rhode Island — from new construction to century-old triple-deckers in Worcester and Dorchester with plaster-over-brick walls. Request a free estimate and we will make sure your cabinets are dead level and rock solid.
Frequently asked questions
About the authors
This guide was written and reviewed by the Hearthstone Kitchens installation team, who have installed 600+ IKEA kitchens in Massachusetts, Connecticut and Rhode Island over 7+ years. Prices reflect what we see on real quotes in 2026 and are updated when the market moves. We are an independent installer and are not affiliated with IKEA.
Ready to talk about ikea cabinet assembly?
Upload your IKEA plan or a few photos. We will check it for missing pieces and send an itemized estimate within 3 hours, free and with no obligation.